
Introduction
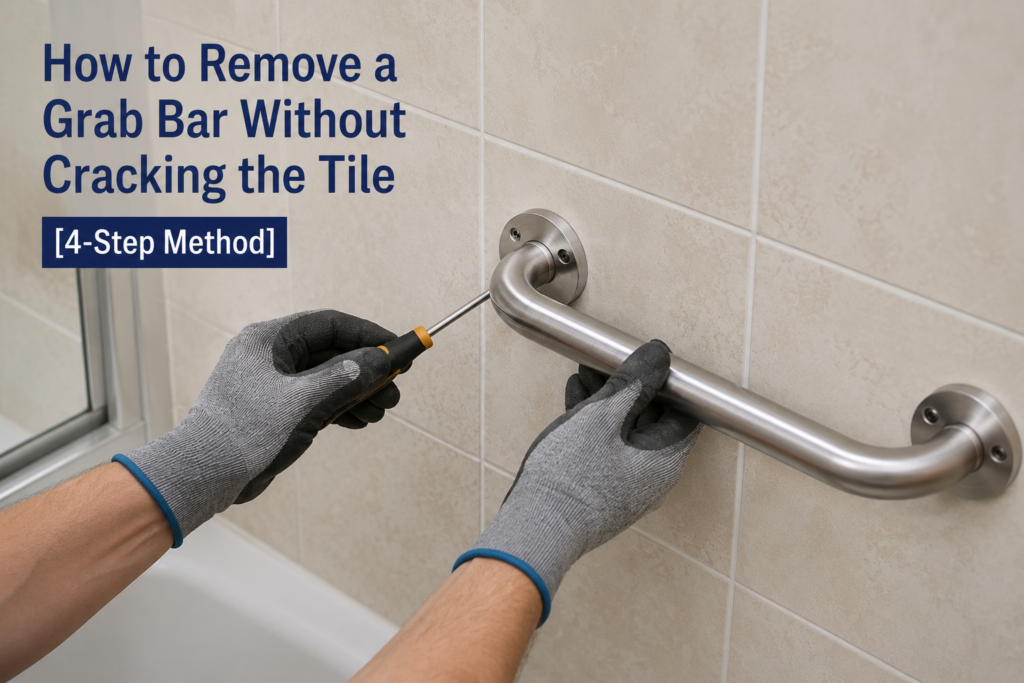
How to Remove a Grab Bar Without Cracking the Tile Your old grab bar is loose, ugly, or in the wrong spot, and the flange is caulked or screwed straight into tile you would rather not crack. One wrong pull and you’re looking at a chipped tile you can’t easily match. Here’s the order of operations that gets it off clean.
Table of Contents
Quick Answer: Cut the caulk around the flange completely before touching any screws, back out screws by hand instead of with a drill, and never pry the bar while it’s still bonded. Patch the resulting holes with colour-matched silicone caulk or epoxy putty—not spackle, which won’t hold or match on tile.
What You Need to Know
- Caulking, not screws, causes most tile cracks—cutting it first removes the stress that snaps glaze.
- A drill’s torque is what strips screws and stresses the flange; hand tools are safer this close to the tile.
- Adhesive-only bars (no visible screws) need heat and dental floss, not prying.
- Tile anchors and drywall anchors repair differently—using the wrong patch material is a common mistake.
- If the flange won’t release after caulk is cut and screws are out, stop—forcing it is what cracks the tile.
Why Grab Bars Crack Tile When Removed
The crack almost never comes from the screws — it comes from the caulk bond fighting the torque of removal. Manufacturers caulk the flange edge to waterproof the seam, and that bead bonds to the tile glaze itself. When you back out a screw without cutting that seal first, the flange doesn’t lift cleanly—it twists, and that twisting stress transfers straight into the tile’s thin glaze layer, which is far more brittle than the tile body underneath it. Add a power drill’s torque on top of that, and a hairline crack becomes a visible chip in seconds.
What You’ll Need
| Colour-matched Tool | Use | Skip This Instead |
|---|---|---|
| Utility knife | Score and cut caulk before removing screws. | Don’t use a pry bar here — too much leverage, too early. |
| Hand screwdriver (not drill) | Back out screws with control | Don’t start with a drill/driver — torque strips screws near tile. |
| Hairdryer or heat gun (low setting) | Soften adhesive on bonded flanges. | Don’t yank a stuck flange cold. |
| Dental floss or thin wire | Saw through softened adhesive behind the flange | Don’t use a putty knife first — it can chip glaze. |
| Penetrating oil | Loosen rusted or stripped screws. | Don’t force a stripped screw with more torque. |
| Colour-matched silicone caulk or two-part epoxy putty | Patch holes in tile. | Don’t use spackling compound — it won’t bond or match on glazed tile. |
The Tile-Safe Removal Method
Cutting the caulk before the screws is the single step that prevents most tile cracks. Follow this order every time, regardless of how the bar looks installed.
Step 1 — Cut and clear the caulk first.
Run a utility knife at a low, shallow angle along every edge of the flange where it meets the tile, going over each seam twice. This breaks the waterproof bond completely so the flange can move freely once the screws come out—skipping this step is the number one reason tile chips during removal.
Step 2 — Back out the mounting screws by hand.
Use a manual screwdriver for at least the first two full turns on each screw before switching to a drill, if you need one at all. Hand tools let you feel resistance and stop before a screw strips; a drill’s torque doesn’t give you that warning, and force transferred into a caulk-free flange is still enough to crack a thin or older tile.
Step 3 — Free an adhesive-only flange.
If there are no visible screws, warm the flange edge with a hairdryer on low heat for 60–90 seconds to soften the adhesive, then work a length of dental floss or thin wire behind the flange in a sawing motion to cut through the bond. Never pry an adhesive-mounted flange with a flat tool—that’s direct point pressure on the glaze.
Step 4 — Handle a stripped or rusted screw without forcing it.
Apply penetrating oil to the screw head and wait 10 minutes before trying again. If it’s still stuck, switch to a screw extractor bit rather than applying more torque or twisting with pliers—extra force at this stage is what transfers stress sideways into the tile.
Tile-Safe Removal Decision Tree
Use this to pick the right move at each fork instead of guessing:
- Is the flange caulked around the edge? → Cut the caulk fully before anything else (Step 1).
- Are there visible screw heads once caulk is cut? → Back them out by hand (Step 2).
- Is a screw stripped or rusted? → Penetrating oil + wait 10 minutes, then an extractor bit (Step 4). Never force it.
- No screws visible at all?→ It’s adhesive-mounted — use heat + dental floss (Step 3), never a pry bar.
- The flange still won’t release after the caulk is cut and the screws/adhesive are addressed. → Stop. This is the point where forcing it cracks tile—call a tile-safe installer instead.
Save or screenshot this decision tree — it covers every removal scenario you’re likely to run into on tile.
Removing Grab Bars From Fiberglass or Drywall Instead of Tile
The caulk-first rule still applies, but the risk profile changes. Fiberglass shower walls flex slightly, so they’re less prone to sudden cracking but can develop stress whitening if pried aggressively—treat them with the same caulk-first, hand-tool approach. Drywall is the most forgiving surface: screws pull free more easily, and any resulting holes patch with standard spackling compound, unlike tile, which needs caulk or epoxy putty specifically formulated to bond to glazed surfaces.
Patching the Holes in Tile Specifically
Tile holes need a flexible, water-resistant filler—not the rigid spackle used on drywall. For small screw holes, apply colour-matched silicone caulk in two thin passes, letting the first pass shrink and cure before adding the second to fully fill the depression. For larger holes left by wall anchors, a two-part epoxy putty rated for tile bonds more permanently and can be sanded lightly once cured, then finished with a paintable waterproof touch-up product if an exact colour match isn’t available pre-tinted.
Common Mistakes That Crack Tile During Removal
- Reaching for a pry bar first. Prying before the caulk is cut applies direct leverage against unsupported glaze—this is the single most common cause of cracked tile in DIY removals.
- Using a drill on the very first turn of every screw. Full drill torque from the start removes the tactile warning you get from a hand screwdriver when a screw is about to strip.
- Ignoring wall anchors left behind. A toggle anchor still inside the wall after the bar comes off will interfere with a clean tile patch if it’s not removed or accounted for.
- Patching tile holes with drywall spackle. It doesn’t bond to glaze and won’t hold up to moisture, so the patch fails within weeks.
When to Call a Professional Instead
If the flange still won’t budge after the caulk is fully cut and the screws (or adhesive) have been properly addressed, stop. At that point, continued force is the only remaining variable, and it’s the one that cracks the tile. A tile-safe installer has tools—like thin oscillating blades—that can separate a stubborn bond without stressing the surrounding tile, which is worth the cost compared to replacing a cracked piece.
Bathroom falls remain a serious risk for older adults—the CDC recommends adding grab bars in the bathroom as one of its core fall-prevention steps—so if removal is part of replacing a bar rather than eliminating one, prioritise getting a secure replacement installed quickly rather than leaving the wall bare. CDC
FAQs
What mistakes should you avoid when removing tiles?
One of the most common mistakes is trying to pry a tile loose before separating the caulk, grout, or adhesive around its edges. This can transfer too much pressure to the unsupported surface and cause the tile to crack. Another mistake is immediately using a power drill at high speed or high torque. Starting screws by hand gives you better control and reduces the chance of chipping the tile around the fastener.
What is the safest way to remove wall tiles without damaging them?
Begin by carefully cutting through all caulk, grout, and adhesive surrounding the tile or mounting area. Once the seal has been separated, use a thin, flat tool to apply controlled pressure instead of forcing the tile with a large pry bar. Work gradually around the edges and avoid twisting or levering against a screw that is still under tension. This approach helps protect the tile’s glazed surface, which can be more vulnerable to sudden pressure than the material beneath it.
Can shower tiles be removed without damaging the wall?
Yes, but the process needs to be handled carefully. Cut through the waterproof caulk and adhesive around the tile before attempting to loosen it. Apply pressure gradually and spread it across the surface instead of pulling from a single point. If adhesive is particularly stubborn, gentle heat from a hairdryer may help soften it. Avoid excessive heat, especially in a shower, because the wall may contain waterproofing materials that should not be overheated.
Can a grab bar be removed?
Yes. A permanently mounted grab bar can generally be removed by separating the caulk around its mounting plates, removing the screws or fasteners, and carefully lifting the bar away from the wall. Afterward, the remaining holes and mounting area can be cleaned and repaired. If the fasteners are heavily corroded or stripped, extra care may be necessary to prevent damage to the surrounding tile.
Do you need special tools to remove a grab bar from tile?
Usually, you can complete the job with basic household tools. A sharp utility knife can be used to cut the caulk around the mounting plates, while a manual screwdriver provides better control when loosening the screws. For stubborn hardware, penetrating oil may help loosen corrosion. If a screw head is damaged or stripped, a suitable screw-extraction bit can make removal easier without putting unnecessary force on the tile.
How do you repair holes in tile after removing a grab bar?
The correct repair depends on the size and location of the hole. Small holes may be sealed with a waterproof, colour-matched silicone product designed for bathroom surfaces. Apply the material neatly and allow it to cure according to the manufacturer’s instructions. Larger openings created by wall anchors may require a tile-compatible repair compound or epoxy filler. Once the repair has cured, the surface can be smoothed and finished with an appropriate waterproof touch-up product if necessary.
What to Do Next
After removing the old grab bar and repairing the mounting holes, the next step is deciding where a replacement should be installed. For guidance on recommended mounting heights, bar lengths, and other accessibility measurements, see our ADA bathroom grab bar requirements guide. You can also review the 2010 ADA Standards for Accessible Design for the federal accessibility requirements.
If the previous bar was actually a towel bar that someone was using for support, don’t assume the same mounting location is safe for a replacement. Read our guide explaining why a towel bar should not be used as a grab bar before installing a new safety bar.