
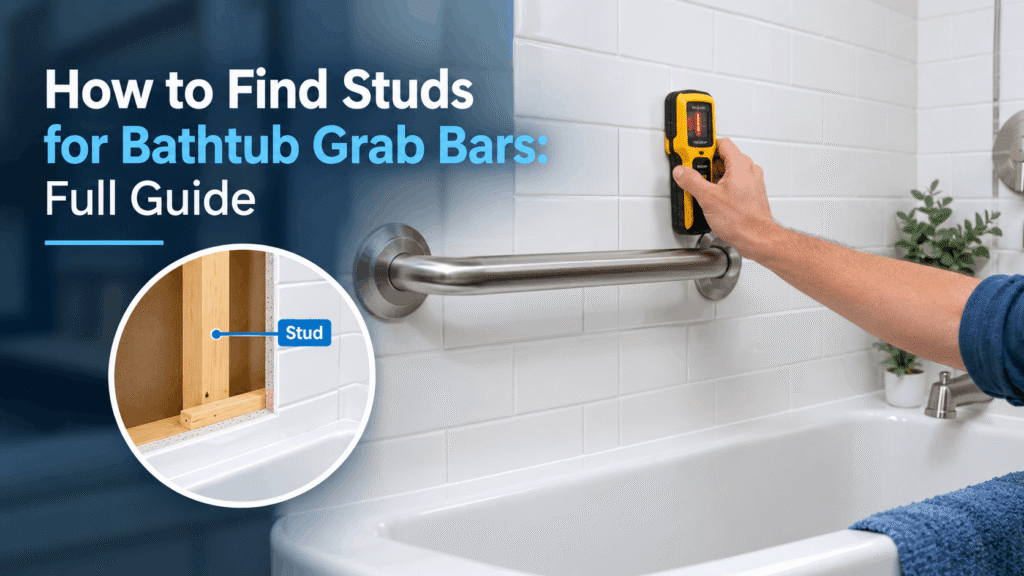
Introduction
How to Find Studs for Bathtub Grab Bars You’ve got the grab bar in the box, the drill charged, and no idea what’s behind the tile. Get this wrong, and the bar pulls out the first time someone leans on it. Here’s how to find the framing — and your real options when the stud doesn’t line up.
Table of Contents
Quick Answer: Use a stud finder on deep-scan mode, scanning slowly 4–6 inches above your mounting line, and confirm with a second pass and a test hole. studs are typically spaced 16 inches apart. No stud where you need one? Add plywood blocking or use a rated anchoring system — never standard drywall anchors.
What You Need to Know:
- Grab bars need at least two screws per end anchored into a stud or solid blocking to meet standard load ratings.
- Tile and cement board throw off electronic stud finders more than bare drywall—the tap test and outlet-reference method are reliable backups.
- Studs are usually spaced 16 inches on center, but plumbing walls are the exception.
- No stud where you need one? Blocking or a rated anchoring system beats moving the bar to a worse spot.
Why Do Studs Matter So Much for a Grab Bar?

The safety of a grab bar depends heavily on how it is mounted to the wall. Under ADA standards, grab bars must be capable of supporting at least 250 pounds of force. They need to be firmly attached to suitable structural support, such as properly reinforced framing, rather than relying on ordinary wallboard alone. Manufacturer instructions should also be followed carefully—for example, some installation guides require at least two of the three supplied wood screws to be installed at each mounting end. This is why the strength of the wall connection is just as important as the grab bar itself.
For the official federal requirements, see the ADA Standards for Accessible Design from the U.S. Access Board. The standards provide detailed requirements for grab bar strength, placement, and clearance.
Tools You’ll Need
An electronic or magnetic stud finder (a “deep-scan” mode helps with tile), painter’s tape and a pencil, a tape measure for working out 16-inch spacing, and a thin drill bit for a test hole small enough to be hidden by the base plate.
What’s the Easiest Way to Find a Stud in a Wall?
The fastest reliable method is an electronic stud finder run in slow, steady horizontal passes, cross-checked with a second scan a few inches away. Start near an outlet or switch box—a stud finder can be used to locate the wood studs behind the wall before beginning installation, and outlets are almost always screwed to a stud on one side, giving you a known reference point before you scan blind.
- Set the stud finder to deep-scan mode if it has one. Bathroom walls with cement board and tile run noticeably thicker than standard drywall.
- Scan horizontally, 4–6 inches above your planned mounting line, moving the tool slowly rather than in quick sweeps.
- Mark both edges of the stud, not just the first beep—the true centre sits roughly halfway between the two marks.
- Run a second pass 6 inches higher or lower. If both readings line up vertically, you’ve found a stud rather than a pipe or a seam in the backer board.
- Drill a small test hole in a spot the base plate will cover later, and feel for resistance. Solid contact means wood; a hollow feel means you should keep scanning.
Is There Another Way to Find Studs Without a Stud Finder?
Yes — the tap test and the outlet-reference method both work without any tool at all.
The tap test: Knock along the wall with a knuckle. A dull, solid thud usually means you’re overframing, while a hollow sound means an open cavity. This reads more clearly on bare drywall than through tile.
The outlet-reference method: Shut off power at the breaker, remove a nearby outlet or switch cover, and shine a flashlight inside the box. You can usually see which side the stud sits on and measure out from there.
Standard Stud Spacing Reference Table
| Framing Type | Typical Spacing (centre to centre) | Notes |
|---|---|---|
| Standard wall stud (16″ o.c.) | 16 inches | Most common in North American homes |
| Standard wall stud (24″ o.c.) | 24 inches | More common in newer builds |
| Plumbing wall (wet wall) | Irregular | Gaps widen around pipe runs — verify, don’t assume. |
| Corner / doorway framing | Doubled or irregular | Extra studs cluster near corners. |
Save or screenshot this table — it covers the two spacing standards you’re most likely to run into in a North American bathroom.
How Do You Find a Stud Behind a Shower Wall?
The method is the same as a bathtub wall, but tile and cement board add enough thickness that electronic stud finders misfire more often here. Favor the tap test and outlet-reference method over a purely electronic reading when you’re working through shower tile.
If the shower was recently retiled or uses a fiberglass or acrylic surround, check the manufacturer’s documentation first—some surrounds have blocking built in behind specific panels precisely so a grab bar can go in later without hunting for studs.
How Do You Install a Grab Bar Without Studs?
If a wood stud isn’t available at the desired location, a grab bar fastening system is the suggested alternative—standard drywall anchors are not built for this load. Your options, in order of preference:
Shift the bar a few inches so both ends land on real framing.
Add blocking. If the wall is open or accessible from behind, nail a 3/4-inch piece of plywood at least six inches wide to the existing studs.
Use a rated grab-bar fastening system, engineered to spread load across wallboard when a stud isn’t available in the right spot.
Common Mistakes People Make Finding Studs for Grab Bars
The single most common mistake is trusting the first beep from a stud finder without a confirming second pass. A pipe, a seam in cement board, or electrical wiring can all trigger a false positive. Manufacturer warnings caution to avoid any electrical wiring or plumbing behind the wall, since damaged wiring can cause shock or fire. A second common mistake is assuming 16-inch spacing holds true on a plumbing wall—it frequently doesn’t.
When Should You Call a Professional Instead?
Bring in a licensed contractor if you can’t confidently confirm stud locations or you’re working on a wet wall with unclear plumbing. If you’re installing grab bars to reduce fall risk for an aging parent, the CDC’s STEADI fall-prevention initiative is a useful reference for why a secure, professionally checked installation is worth the extra cost.
FAQs
What is the quickest method for locating a wall stud?
An electronic stud detector is generally the most convenient option. Move the tool slowly across the wall and repeat the scan to verify the strongest reading. If there is an electrical outlet nearby, it can also serve as a useful reference because outlet boxes are commonly secured to wall framing.
What is the standard spacing between bathroom wall studs?
Many residential walls use studs positioned 16 inches on centre, while some construction uses 24-inch spacing. Bathroom framing can differ because plumbing lines, fixtures, doors, and other features may require changes to the normal layout. Verify the framing rather than assuming a fixed spacing.
How can I locate studs behind bathtub tile?
Tile and cement backer board can make stud detection more difficult. A stud finder may still provide useful readings, but it’s wise to confirm the location with another method. You can compare the reading with known framing locations or carefully check the wall for changes in sound.
Can a stud finder detect a stud through shower tile?
Some models can detect framing through tile and backer board, but performance depends on the tool and the thickness of the materials. Treat the reading as an indication rather than proof. Confirm the location before drilling into the wall.
What should I do if there is no stud at the desired grab bar location?
If the wall is open, install appropriate structural blocking between the studs before the wall covering is installed. For an existing finished wall, choose a grab-bar mounting system specifically engineered and rated for the wall type and required load. Standard drywall anchors should not be treated as equivalent structural support for a grab bar.
How can I verify that a stud finder reading is accurate?
Move the detector across the suspected stud from both directions and mark the boundaries of the strongest readings. The framing is typically located between those marks. For a grab bar installation, use an additional verification method when possible rather than relying entirely on one detector reading.
Is it safe to attach a grab bar to only one stud?
That depends on the grab bar and its mounting hardware. A single-stud installation should only be used when the specific product and mounting system are designed and rated for that configuration. Otherwise, use suitable structural framing or an engineered grab-bar anchoring solution.
What to Do Next
Found your studs? Good — now comes the part that actually matters most: getting the height and placement right. A grab bar that’s too high or too low, or just in an awkward spot, won’t do much good when you actually need it.
Check out our bathtub grab bar height guide — it walks you through exactly how to measure and where to position it so it’s solid, safe, and comfortable to reach when you need it most.