
Introduction
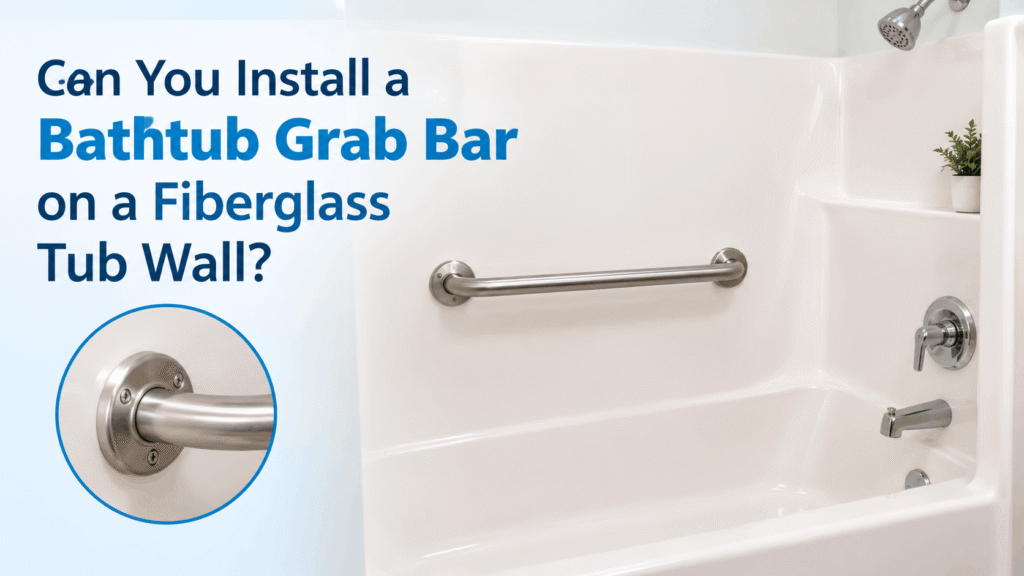
Grab bar in hand, and you’re afraid of cracking it or mounting it wrong. Relax: it’s safe when the screws land in the right place. Can You Install a Bathtub Grab Bar on a Fiberglass Tub Wall?
Table of Contents
Quick Answer: Yes, you can install a bathtub grab bar on a fiberglass tub wall, but only if the screws reach a wall stud or blocking behind it. Fiberglass alone can’t hold your weight. Drill slow pilot holes 1 inch into the stud, then seal each one.
What You Need to Know
- Fiberglass is a waterproof surface, not a support. Screws must reach a stud or blocking.
- Find studs with a stud finder plus a tape measure. Spacing is commonly 16 inches, sometimes 24.
- Tape the mark, drill at low speed, and fill each hole with 100% silicone.
- No stud and no back access? Move the bar or call a professional.
- No-drill bars have tighter limits. Read the printed weight rating.
Can You Install a Grab Bar on a Fiberglass Tub Wall?
Yes, you can, as long as the screws reach solid framing behind the fiberglass. The shell is only the top layer.
A fiberglass tub surround is a molded panel of glass fibers and resin, used as a waterproof wall around a bathtub. It keeps water out. It does not support any weight.
Treat it as a finish, and the job is routine. Treat it as a structure, and the bar eventually pulls loose.
Why Fiberglass Alone Can’t Hold a Grab Bar
A grab bar is only as strong as the structure its screws grip. Fiberglass flexes, so screws set into the shell alone work loose or tear out.
The ADA 2010 Standards, Section 609.8, require the grab bar, fasteners, mounting device, and supporting structure to withstand 250 pounds at any point. While home installations aren’t legally required to meet this standard, it serves as a reliable benchmark.
Look at what the rule names: the supporting structure, not only the bar. A strong bar on a weak wall still fails.
The CDC’s older adult fall facts report that more than one in four adults aged 65 and older falls each year. The National Safety Council’s older adult falls data shows fall-related deaths and emergency visits among older adults rising over the past decade. A bar that holds during a sudden grab matters.
The surprise: a fiberglass wall can feel rock-solid when you press it. That firmness comes from the wall behind it, and it says nothing about how well a screw will hold.
What’s Behind Your Fiberglass Wall? A Decision Chart
What sits behind the shell decides how you mount the bar. Check this before drilling.
| What you find | Mounting approach | Confidence |
|---|---|---|
| Stud at the needed spot | Screw the flanges directly into the stud. | Highest |
| No stud, but backside access | Add blocking or backing, then mount. | High |
| No stud, no back access | Move the bar, or get professional help. | Don’t rely on anchors in fiberglass |
| Renter, no drilling allowed. | Clamp-on tub-rim rail | Moderate. Confirm the rated load. |
Save or screenshot this “What’s Behind Your Fiberglass Wall?” chart. It shows which mounting approach fits what you find before you drill.
How Do You Find Studs Behind a Fiberglass Surround?
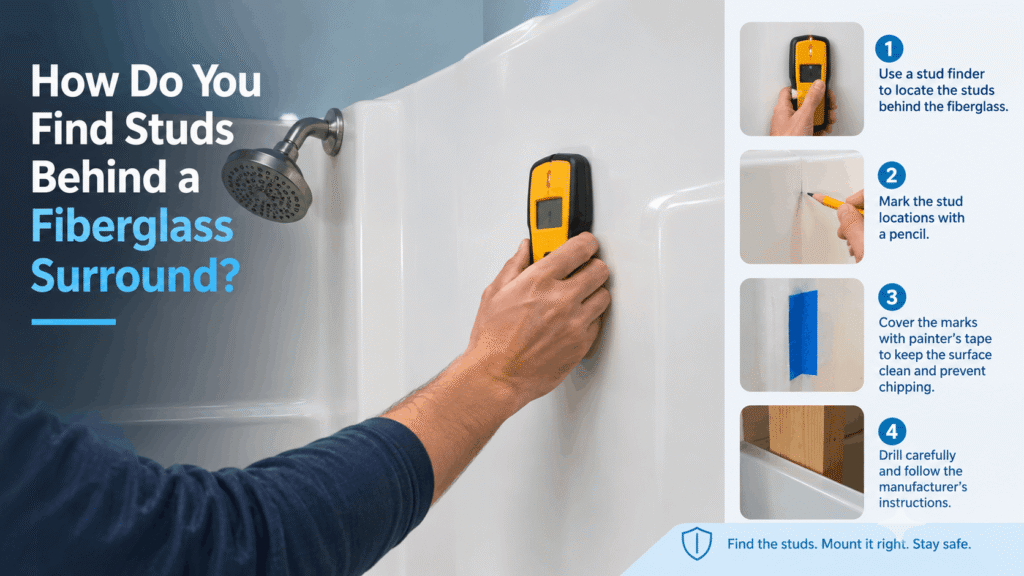
Combine an electronic stud finder with a tape measurement. One method alone can mislead you through fibreglass.
- Electronic stud finder. Slide it slowly across the wall and mark both edges of each stud.
- Magnetic finder. It locates the nails or screws holding the framing.
- Tape measure. US wall studs are commonly 16 inches apart centre to centre, sometimes 24. Measure from a corner and see if your readings fit.
- Look from behind. A closet, access panel, or neighbouring room may show the framing directly.
Tub alcoves often have studs near the ends of the back wall, so start there.
For more methods, see our guide on how to find studs for bathtub grab bars.
How to Mount a Grab Bar on a Fiberglass Tub Surround
Before You Begin
Each grab bar usually takes about an hour to mount, and then the sealant needs extra time to harden before the bar is put to use. If your bar came with its own instruction sheet that says something different, follow that sheet. It was written for your exact model.
Gather these items first.
- A drill with speed control. Switch off any hammer or percussion mode so the tile doesn’t crack.
- A new, sharp bit for pilot holes. With #8 to #10 screws, bits in the 1/8″ to 9/64″ range are the usual choice, but confirm the size in your product’s specs.
- A spirit level so the bar sits perfectly horizontal, vertical, or at the angle you want.
- A pencil and a measuring tape for marking exact positions.
- Painter’s tape, which keeps your marks visible and gives the bit a better grip on slick surfaces.
- A caulking gun loaded with a tube of pure silicone sealant, for waterproofing the mounting points.
- The screws that shipped in the grab bar’s box.
Steps
Need help deciding where the bar goes? Read our guide to bathtub grab bar height first, then come back here.
Step 1: Position the bar and mark the holes.
Hold the grab bar against the wall, set a level on top of it, and mark every screw hole with a pencil. Make sure each mark lands on solid wood. If only one end of the bar reaches a stud, check the no-stud section below before going any further.
Step 2: Cover the marks with tape.
Stick a 2-inch square of painter’s tape over each mark, then mark the spot again on top of the tape. The tape gives the bit something to bite into and cuts down on chipping.
Step 3: Start each hole slowly.
Use a sharp bit, set the drill to its lowest speed, and press lightly as you go through the shell. Don’t push hard. Forcing the bit is the quickest way to chip fiberglass.
Step 4: Drill into the stud.
Go about 1 inch into the wood, or follow the depth in your bar’s instructions. One inch is a common rule of thumb, so compare it with the length of your screws.
Step 5: Check the hole.
Look closely for chips or hairline cracks. If you spot any, adjust your technique before drilling the next one.
Step 6: Add silicone before the screw.
Squeeze a small bead of 100% silicone into each hole. This stops water from getting into the wall.
Step 7: Tighten until snug.
Stop as soon as the flange sits flat against the wall. Overtightening puts stress on the shell and can crack it.
Step 8: Clean up and let it cure.
Wipe away any extra sealant, then follow the cure time on the tube. It is often around 24 hours. Nobody should use the bar until then.
Step 9: Test it slowly.
Have someone nearby, then gradually shift your weight onto the bar over a few seconds. After that, pull on it from a couple of different angles. If you hear a click or feel any movement or flex, stop and recheck the installation. This is only a basic check at home and not a certified load test.
What If There’s No Stud Where You Need One?
If no stud lines up, move the bar or add backing from behind. Don’t trust anchors in the shell. Drywall anchors need material behind them, and fiberglass doesn’t provide it.
Blocking is a horizontal board, typically a 2×6 or 2×8, fastened between two studs to give screws solid wood. It needs access behind the wall.
Manufacturers agree. The Bradley heavy-duty swing-up grab bar spec sheet states the wall must be reinforced in the area of the grab bar.
More options are in our article on a bathtub grab bar without a stud.
What Is the Best Grab Bar for a Fiberglass Shower or Tub?
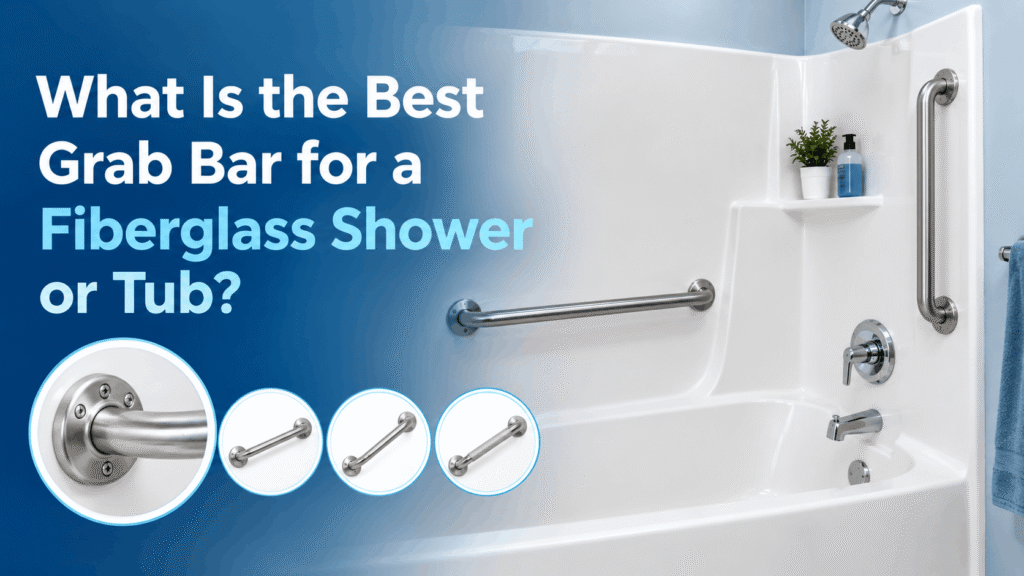
The best choice is a stainless steel bar with a textured grip, wide flanges, and a rated load of at least 250 pounds. Wide flanges spread force across more wall.
The ADA standard sets round bars at 1¼ to 2 inches in outside diameter, with a 1½-inch gap from the wall. Most home bars run 1¼ to 1½ inches. Read the full Section 609 text at the U.S. Access Board.
Confirm the manufacturer allows mounting on fiberglass. Check that concealed-screw covers don’t hide a thinner plate.
Are There No-Drill Grab Bars for Fiberglass?
They exist, but their limits are tighter than a screwed-in bar’s. Read the weight rating and warnings first.
| Type | How it attaches | Main limit |
|---|---|---|
| Suction cup | Vacuum seal on smooth wall | Needs a clean, flat surface and a seal check before each use |
| Adhesive | Bonds to the surface | Depends on surface prep and cure time |
| Clamp-on rail | Grips the tub rim. | Needs a compatible rim; ratings vary |
| Screwed into studs | Fasteners in framing | Needs a stud or blocking |
Some suction products are labelled as balance aids, not full body-weight support. Check the label on your exact model.
For renters, a clamp-on tub-rim rail is often the best compromise. Confirm its rated load.
What Are the Most Common Mistakes?
The most common mistake reported in installation guides and owner forums is trusting the fiberglass instead of the framing. Others follow.
- Hollow-wall anchors in the shell. They need material behind them.
- Skipping sealant. Open holes let water behind the surround.
- Over-tightening. Cracks start at a stressed hole.
- Drilling fast. Heat and pressure chip the surface.
- Knock-testing for studs. Confirm with a finder and a tape measure.
- Using a wobbly bar. See why a bathtub grab bar gets loose first.
When Should You Call a Professional?
Call one when you can’t confirm solid framing behind the bar. Stopping is safer than guessing.
- You can’t find a stud or reach the back of the wall.
- The wall visibly flexes when pressed.
- You see cracks, soft spots, or water damage around the tub.
- The user will lean heavily on the bar, such as lifting their body weight to stand.
For wider fall-prevention guidance for older family members, see the CDC’s STEADI program.
FAQs
How do you install a grab bar on a fiberglass tub surround?
Find a stud or solid blocking behind the fiberglass, mark the mounting points, and cover them with painter’s tape. Drill slowly with a sharp bit, apply 100% silicone, and secure the bar with the proper screws. Let the sealant cure before using the bar.
What is the best grab bar for a fiberglass shower?
A stainless-steel bar with a textured grip and strong mounting flanges is a good option. Make sure the manufacturer approves it for fiberglass and that the screws can reach solid framing behind the surround.
Can you install a grab bar in a fiberglass shower?
Yes, provided the bar is attached to suitable framing or blocking. Fiberglass alone is not strong enough to support a safety grab bar.
Are there no-drill grab bars for fiberglass showers?
Yes. Suction, adhesive, and tub-rim models are available, but they have different limitations and weight ratings. Always follow the product’s instructions.
Can drilling crack fiberglass?
It can if you use too much speed or pressure. Use a sharp bit, drill slowly, and avoid overtightening the screws.
How much weight should a grab bar support?
The 2010 ADA Standards use 250 pounds as the load benchmark for grab bars and their supporting structure. The strength of the framing is just as important as the bar itself.
What should you do if a grab bar becomes loose?
Stop using it until it’s repaired. Check whether the screws are properly anchored into a stud or blocking. Simply tightening loose screws may not solve the problem. See our guide to a loose bathtub grab bar.
What to Do Next
Continue your bathtub safety research with these helpful guides:
Improve an older tub: Learn how to Make an Old Bathtub Safer With Grab Bars.
Explore more bathtub safety solutions: Browse our Bathtub Grab Bars guides.
Find the right installation height: See our guide to Bathtub Grab Bar Height.